
Looking for a game-changing way to create quick, delicious meals that are packed with flavor? With the Ninja Foodi, you can transform your cooking routine into a stress-free, one-pot adventure. Whether you’re craving tender, pressure-cooked meats or crispy, air-fried vegetables, this versatile multi-cooker has you covered. Imagine whipping up a healthy, homemade meal in half the time—without compromising on taste or texture. Let’s dive into a recipe that showcases just how effortless and irresistible cooking with the Ninja Foodi can be!
Key Benefits of Cooking with the Ninja Foodi
Cooking with the Ninja Foodi is like having a professional kitchen assistant right on your countertop! Here’s why this versatile appliance has become a favorite for busy home cooks and food enthusiasts:
• Time-Saving Convenience: The Ninja Foodi combines multiple cooking functions—pressure cooking, air frying, steaming, and more—so you can prepare meals faster than traditional methods. No more waiting hours for dinner to be ready!
• One-Pot Wonders: Say goodbye to juggling multiple pots and pans. With the Ninja Foodi, you can sauté, cook, and crisp all in one device, reducing both prep time and cleanup.
• Healthier Meals Made Easy: Craving crispy fries or crunchy chicken? The air fryer function allows you to enjoy fried favorites with little to no oil, making your meals both delicious and guilt-free.
• Perfect Textures Every Time: From tender, fall-off-the-bone meats to perfectly crisp veggies, the Ninja Foodi ensures you get the ideal texture and flavor for every dish.
• Versatility for Any Recipe: Whether you’re whipping up a quick breakfast, a hearty dinner, or even desserts, the Ninja Foodi adapts to your needs. It’s perfect for experimenting with new recipes or sticking to trusted classics.
Cooking with the Ninja Foodi doesn’t just make your life easier—it turns everyday meals into something extraordinary. Once you start using it, you’ll wonder how you ever cooked without it!
Ingredients
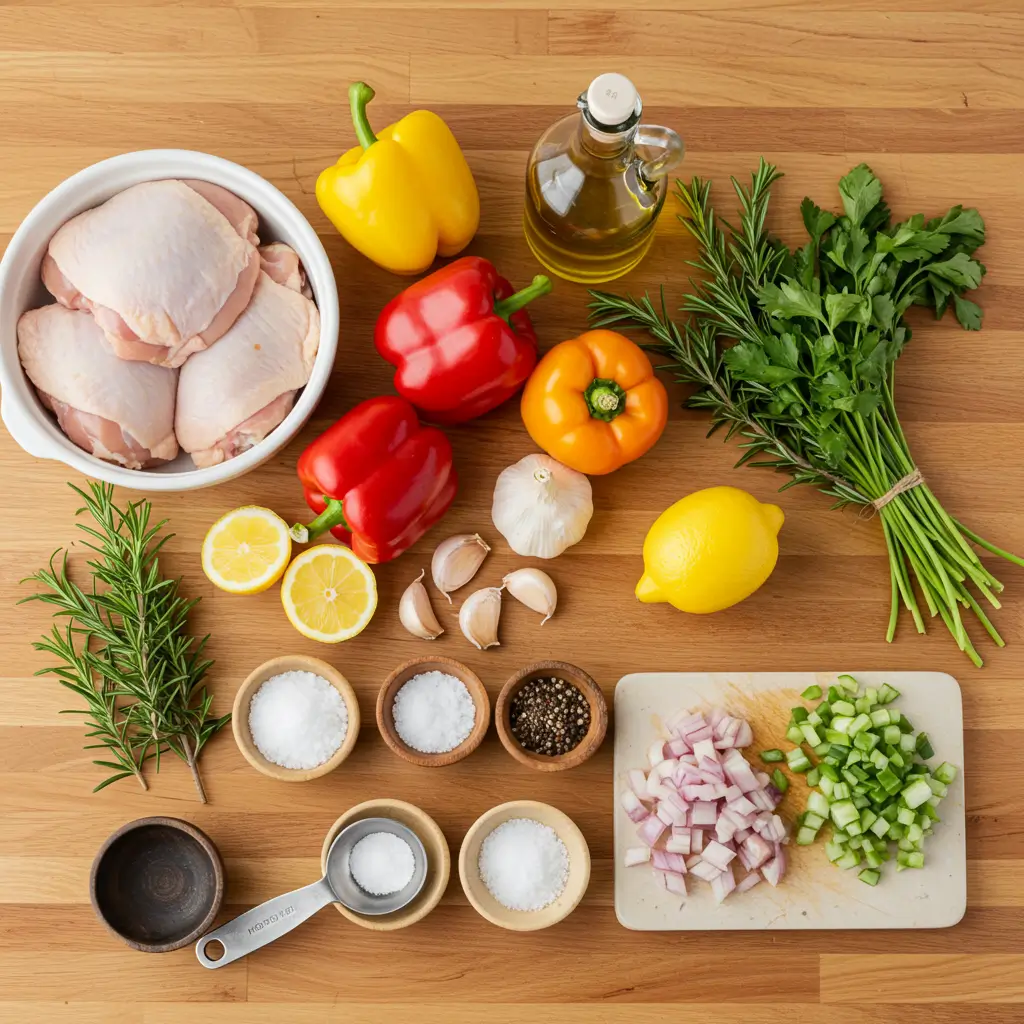
Let’s gather everything you need for this delicious Ninja Foodi creation! This recipe is all about simplicity, so most of these ingredients are pantry staples or easy to find at your local grocery store. Feel free to customize based on what you have on hand or your personal preferences.
Main Ingredients:
• 2 lbs chicken thighs or drumsticks (bone-in for extra flavor)
• 1 lb baby potatoes (halved for faster cooking)
• 2 cups fresh green beans (trimmed and washed)
• 2 tbsp olive oil
• 1 tsp garlic powder
• 1 tsp smoked paprika
• ½ tsp dried thyme
• Salt and pepper to taste
For the Sauce (Optional but Highly Recommended):
• ¼ cup honey
• 2 tbsp soy sauce (or tamari for a gluten-free option)
• 1 tbsp Dijon mustard
• 1 tsp apple cider vinegar
Optional Garnishes:
• Fresh parsley (chopped)
• Lemon wedges for a zesty finish
Pro Tip:
If you’re meal prepping or feeding a larger group, you can easily double the ingredients. The Ninja Foodi’s spacious cooking pot ensures there’s plenty of room to cook everything evenly without overcrowding.
Having your ingredients prepped and ready not only makes the cooking process smoother but also allows you to focus on achieving those perfect, mouthwatering results! Ready? Let’s get cooking!
Instructions
Ready to create a flavorful, one-pot meal with your Ninja Foodi? Follow these step-by-step instructions, and you’ll have a delicious dinner on the table in no time!
Step 1: Prep the Ingredients
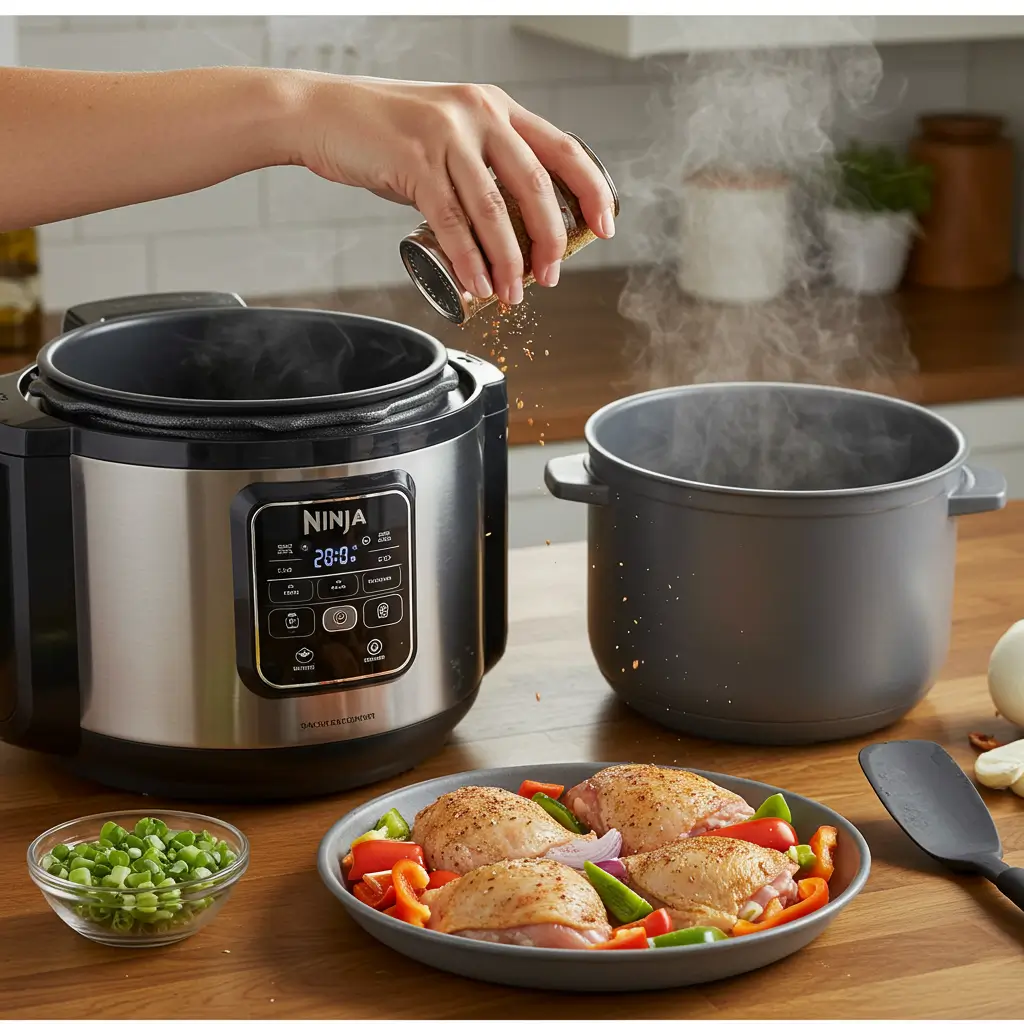
1. Pat the chicken thighs or drumsticks dry with a paper towel, then season generously with garlic powder, smoked paprika, dried thyme, salt, and pepper.
2. Toss the baby potatoes in olive oil, along with a pinch of garlic powder, smoked paprika, salt, and pepper.
3. Trim and wash the green beans, setting them aside for later.
Step 2: Sear the Chicken
1. Turn the Ninja Foodi to the Sear/Sauté function and set the temperature to medium-high.
2. Add 1 tablespoon of olive oil to the cooking pot. Once hot, place the chicken pieces skin-side down and sear for 3–4 minutes on each side until golden brown. Remove and set aside.
Step 3: Cook the Potatoes
1. Keep the Ninja Foodi on the Sear/Sauté function. Add the seasoned baby potatoes to the pot, stirring occasionally, and cook for 5 minutes to give them a slight crust.
2. Turn off the Sear/Sauté function.
Step 4: Pressure Cook
1. Place the seared chicken on top of the potatoes in the cooking pot.
2. Lock the pressure cooker lid in place and select the Pressure Cook function. Set the time to 10 minutes on High.
3. Once the timer is up, carefully perform a quick pressure release by turning the release valve.
Step 5: Add the Green Beans and Crisp It Up
1. Open the lid and add the green beans to the pot, spreading them evenly over the chicken and potatoes.
2. If you’re making the optional sauce, mix the honey, soy sauce, Dijon mustard, and apple cider vinegar in a small bowl, then drizzle it over the top.
3. Close the Crisper Lid and select the Air Crisp function. Set the temperature to 400°F and cook for 5–8 minutes until the chicken skin is crispy and the green beans are tender.
Step 6: Finish and Serve
1. Once the cooking is done, carefully remove the chicken, potatoes, and green beans from the pot.
2. Garnish with fresh parsley and a squeeze of lemon for an extra burst of flavor.
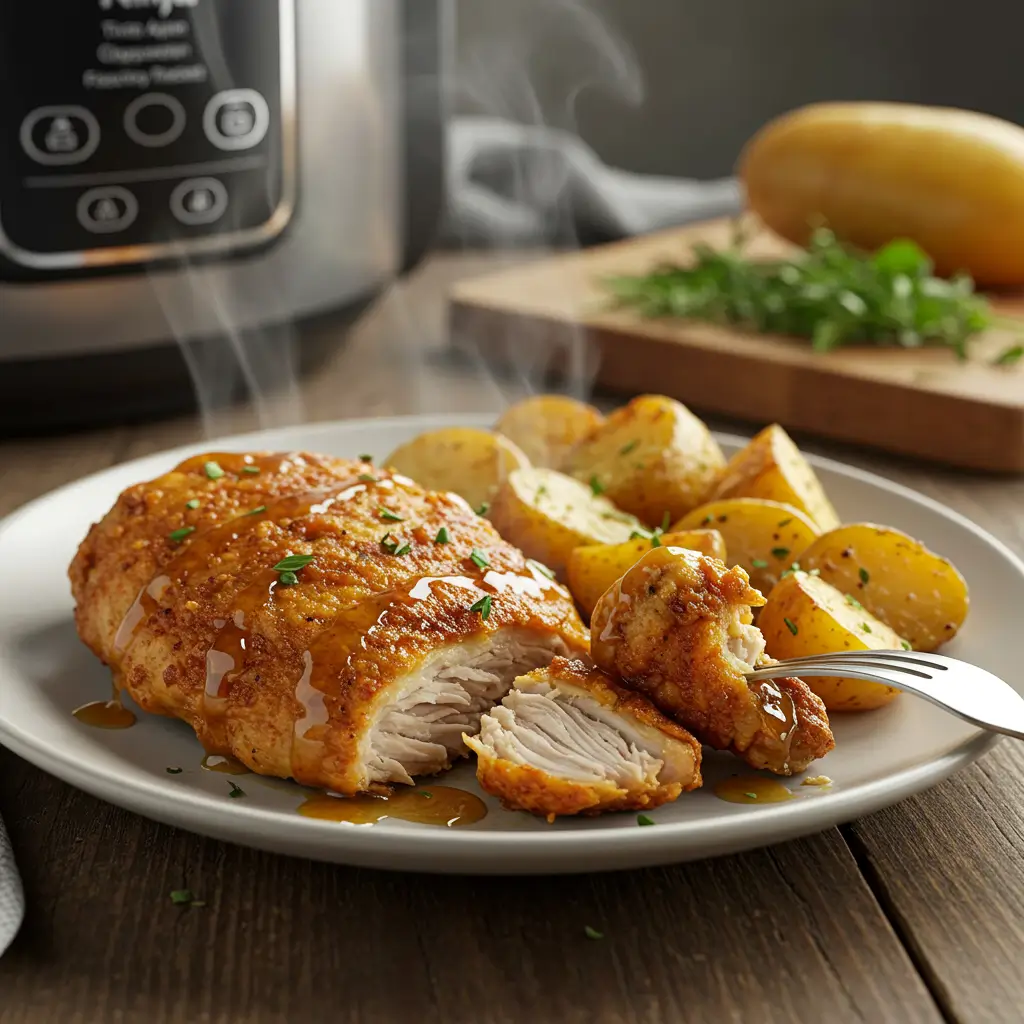
Now sit back and enjoy the perfect balance of tender, juicy chicken, crispy potatoes, and vibrant green beans—all cooked to perfection in your Ninja Foodi!
Pro Tips and Variations
This Ninja Foodi recipe is already a winner, but with a few tweaks, you can make it your own and take it to the next level! Here are some pro tips and variations to help you personalize this meal to your taste:
Pro Tips:
• Crispier Chicken: Want your chicken skin even crispier? After pressure cooking, use the Air Crisp function for a few extra minutes until it’s golden brown and irresistibly crispy. This trick works wonders for giving your chicken that perfect fried texture without the mess of deep-frying!
• Don’t Skip the Quick Release: When you’re pressure cooking, don’t forget to perform the quick release after the timer goes off. This will prevent overcooking and keep your potatoes from turning mushy.
• Perfectly Cooked Potatoes: If you prefer your potatoes a bit firmer, reduce the cooking time by 2-3 minutes during the pressure cook phase. For softer potatoes, leave the cook time as is.
• Homemade Sauce: The optional honey soy sauce glaze brings an incredible sweetness and depth to the dish. For an extra kick, add a teaspoon of chili flakes or a splash of hot sauce to the sauce mixture.
Variations:
• Vegetarian Option: Swap the chicken for a plant-based protein, like tofu or tempeh, seasoned with your favorite spices. You can also add more veggies, like carrots, zucchini, or bell peppers, to make a hearty vegetarian meal.
• Sweet and Savory Twist: Add a few slices of apple or pineapple to the pot before pressure cooking for a lovely balance of sweetness and savory flavors. These fruits pair wonderfully with the chicken and potatoes!
• Spicy Version: If you love heat, stir in some jalapeños or drizzle the finished dish with sriracha sauce before serving. The spice will elevate the flavor profile and add a nice kick.
• Swap the Potatoes: Try using sweet potatoes for a more nutrient-packed option. They add a natural sweetness and pair beautifully with the other ingredients.
Meal Prep Tip:
This recipe is perfect for meal prepping! Make a double batch and store the leftovers in an airtight container in the fridge for up to 3 days. The flavors will marinate, making it even tastier the next day. You can also freeze individual portions for a quick, ready-to-eat meal on busy days.
No matter how you customize it, this Ninja Foodi recipe is sure to be a hit. Experiment with different ingredients and techniques to discover what works best for you—cooking has never been so easy and fun!
For expert advice on enhancing your cooking skills, check out these helpful tips from The Chunky Chef.
Serving Suggestions
Now that your Ninja Foodi masterpiece is ready to serve, let’s talk about how to present it in a way that will wow your guests (or yourself)! Here are some simple yet delicious serving ideas to elevate your meal:
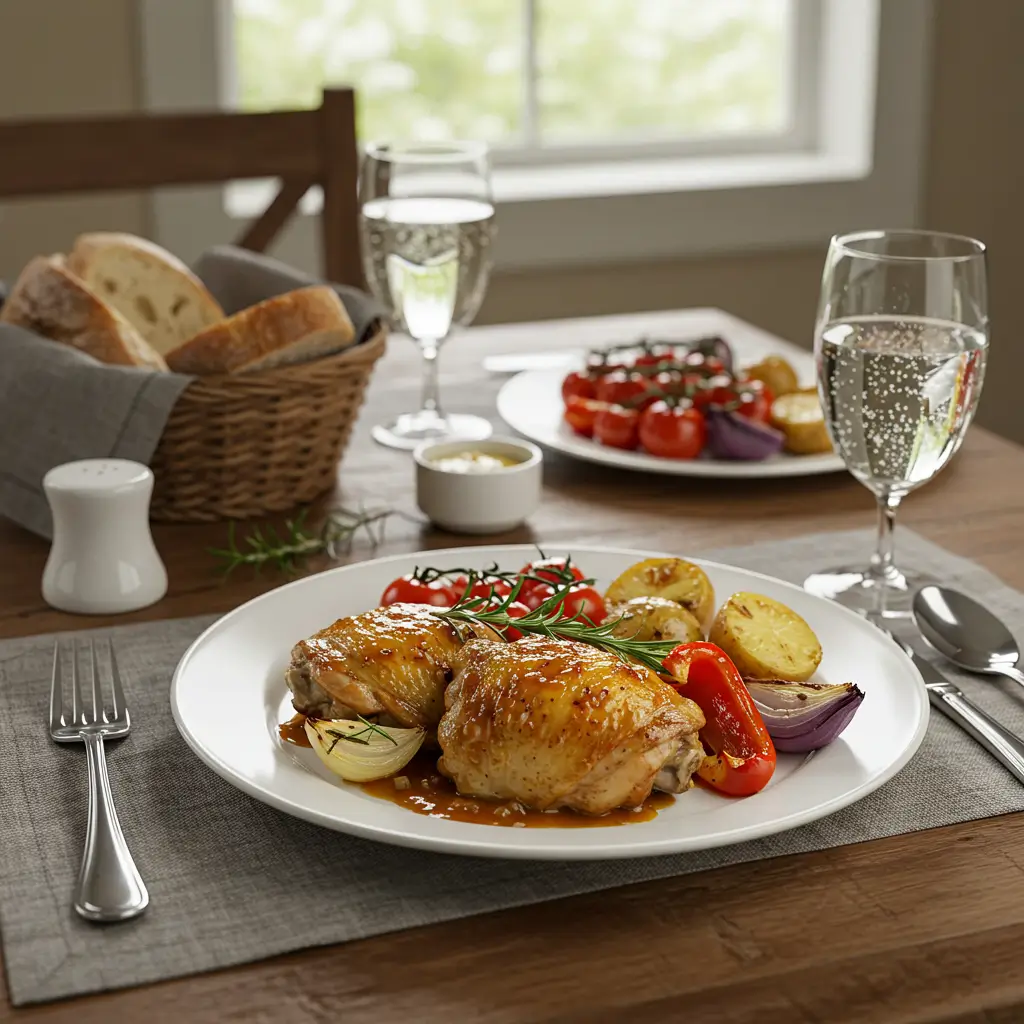
1. Serve on a Beautiful Platter
After cooking in the Ninja Foodi, everything looks so vibrant and appetizing. Arrange the crispy chicken, golden potatoes, and green beans on a large serving platter. Garnish with a sprinkle of fresh parsley or even a few lemon wedges on the side for a pop of color and a zesty squeeze of flavor.
2. Pair with a Fresh Salad
For a light and refreshing side, pair your dish with a simple green salad. Try mixed greens, arugula, or spinach with a light lemon vinaigrette dressing. The freshness of the salad balances the richness of the chicken and potatoes, making the meal feel lighter and more vibrant.
3. Serve with Rice or Quinoa
If you prefer a starchier side, opt for a bed of fluffy rice or quinoa to soak up the juices from the chicken and sauce. This also helps stretch the meal if you’re serving a larger group! You could even add a few spices to the rice for extra flavor—turmeric or cumin work beautifully.
4. Add Some Bread
For those who love a good carb, serve with warm, crusty bread. This is perfect for dipping into any extra sauce or juices left in the pot. A side of garlic bread or a fresh baguette can make the meal even more comforting.
5. Wine Pairing Suggestions
If you’re enjoying this dish with a glass of wine, a crisp white wine like Sauvignon Blanc or Chardonnay complements the flavors of the chicken and vegetables. For red wine lovers, a light Pinot Noir or Merlot can work well, offering a subtle, fruity contrast to the savory meal.
6. A Side of Roasted Vegetables
For extra veggies, consider roasting some additional vegetables like carrots, bell peppers, or zucchini. Roasting enhances the natural sweetness of vegetables and adds a bit of texture to the meal. It’s an easy, flavorful way to get more nutrients on your plate!
Whether you’re serving this dish to family, friends, or just treating yourself to a wholesome meal, these serving suggestions will help you create a complete dining experience that’s as beautiful as it is delicious!
Conclusion
Congratulations, you’ve just mastered a Ninja Foodi recipe that’s not only easy but also bursting with flavor! Whether you’re a seasoned cook or a beginner, this dish is designed to simplify meal prep without compromising on taste. The combination of crispy chicken, tender potatoes, and a flavorful glaze makes it a true crowd-pleaser. Plus, with the Ninja Foodi, the cooking process is hands-off, allowing you to relax while it works its magic.
This recipe is perfect for busy weeknights, cozy family dinners, or impressing guests with minimal effort. It offers versatility, so you can tweak it based on what you have on hand, ensuring it suits every palate.
The best part? It’s not just about cooking—it’s about creating moments. Imagine the smiles around the table as everyone enjoys a meal that’s perfectly cooked, easy to prepare, and incredibly satisfying.
So, next time you’re looking for a Ninja Foodi recipe to love, remember this one. With simple ingredients, a few easy steps, and endless possibilities for customization, it’s bound to become a go-to in your recipe collection!
Happy cooking, and don’t forget to share your creations with us on social media using #NinjaFoodiDelight!
If you’re looking for another dish with irresistible flavors, be sure to check out my Garlic Parmesan Chicken Pasta – a recipe that will melt your heart and leave you craving more!
___________________

ninja foodi recipes
Ingredients
Main Ingredients:
- 2 lbs chicken thighs or drumsticks bone-in for extra flavor
- 1 lb baby potatoes halved for faster cooking
- 2 cups fresh green beans trimmed and washed
- 2 tbsp olive oil
- 1 tsp garlic powder
- 1 tsp smoked paprika
- ½ tsp dried thyme
- Salt and pepper to taste
For the Sauce (Optional but Highly Recommended):
- ¼ cup honey
- 2 tbsp soy sauce or tamari for a gluten-free option
- 1 tbsp Dijon mustard
- 1 tsp apple cider vinegar
Optional Garnishes:
- Fresh parsley chopped
- Lemon wedges for a zesty finish
Instructions
Step 1: Prep the Ingredients
- Pat the chicken thighs or drumsticks dry with a paper towel, then season generously with garlic powder, smoked paprika, dried thyme, salt, and pepper.
- Toss the baby potatoes in olive oil, along with a pinch of garlic powder, smoked paprika, salt, and pepper.
- Trim and wash the green beans, setting them aside for later.
Step 2: Sear the Chicken
- Turn the Ninja Foodi to the Sear/Sauté function and set the temperature to medium-high.
- Add 1 tablespoon of olive oil to the cooking pot. Once hot, place the chicken pieces skin-side down and sear for 3–4 minutes on each side until golden brown. Remove and set aside.
Step 3: Cook the Potatoes
- Keep the Ninja Foodi on the Sear/Sauté function. Add the seasoned baby potatoes to the pot, stirring occasionally, and cook for 5 minutes to give them a slight crust.
- Turn off the Sear/Sauté function.
Step 4: Pressure Cook
- Place the seared chicken on top of the potatoes in the cooking pot.
- Lock the pressure cooker lid in place and select the Pressure Cook function. Set the time to 10 minutes on High.
- Once the timer is up, carefully perform a quick pressure release by turning the release valve.
Step 5: Add the Green Beans and Crisp It Up
- Open the lid and add the green beans to the pot, spreading them evenly over the chicken and potatoes.
- If you’re making the optional sauce, mix the honey, soy sauce, Dijon mustard, and apple cider vinegar in a small bowl, then drizzle it over the top.
- Close the Crisper Lid and select the Air Crisp function. Set the temperature to 400°F and cook for 5–8 minutes until the chicken skin is crispy and the green beans are tender.
Step 6: Finish and Serve
- Once the cooking is done, carefully remove the chicken, potatoes, and green beans from the pot.
- Garnish with fresh parsley and a squeeze of lemon for an extra burst of flavor.
- Now sit back and enjoy the perfect balance of tender, juicy chicken, crispy potatoes, and vibrant green beans—all cooked to perfection in your Ninja Foodi!
Notes
- Calories: 350 kcal
- Total Fat: 14g
- Saturated Fat: 4g
- Cholesterol: 95mg
- Sodium: 580mg
- Total Carbohydrates: 20g
- Dietary Fiber: 4g
- Sugars: 5g
- Protein: 32g
FAQs
1: Can I substitute chicken for another protein in this Ninja Foodi recipe?
Absolutely! While chicken works wonderfully in this dish, you can easily swap it for other proteins such as turkey, pork, or even tofu if you’re looking for a vegetarian option. Just adjust the cooking time based on the protein you choose. For instance, pork might take a bit longer to cook, while tofu can cook faster.
2: Can I use frozen chicken in the Ninja Foodi?
Yes, you can! The Ninja Foodi is perfect for cooking from frozen. Just be sure to add extra time to ensure the chicken reaches the correct internal temperature. For frozen chicken, cook it for about 10-12 minutes longer than the suggested time for fresh chicken.
3: How can I make this recipe spicier?
If you love a bit of heat, consider adding some chili flakes, cayenne pepper, or a touch of hot sauce to the marinade or glaze. For an extra kick, you can even add some fresh sliced jalapeños as a garnish before serving.
4: Can I double this recipe for a larger group?
Definitely! The Ninja Foodi can handle larger portions, but you may need to cook in batches to ensure everything cooks evenly. If you’re making a double batch, try to arrange the chicken and potatoes in a single layer to allow for better air circulation and crispiness.
5: What’s the best way to store leftovers?
If you happen to have leftovers (which is unlikely, considering how delicious this is!), store them in an airtight container in the fridge for up to 3 days. Reheat in the Ninja Foodi or oven for the best results. If you want to preserve the crispy texture, reheat on the air crisp setting.
6: Can I prepare this meal ahead of time?
Yes! You can prep the chicken and potatoes in advance by marinating them and storing them in the fridge for up to 24 hours. This allows the flavors to meld and will make dinner even quicker on the day you’re ready to cook.
7: What’s the best side to serve with this meal?
This Ninja Foodi recipe pairs well with a variety of sides! Consider serving it with a crisp green salad, roasted vegetables, or a simple rice pilaf. For a more hearty side, mashed potatoes or creamy mac and cheese would complement the dish perfectly.
By now, you should have all the answers you need to make this recipe your own. Don’t hesitate to get creative with it—whether you’re tweaking the ingredients or adding your favorite flavors, there’s plenty of room to make this meal your own!